Exploring the Best of Android: Top 10 Useful Features of android Unveiled
Welcome to our blog post, where we dive into the world of Android and discover its most handy and user-friendly features. Android is packed with functionalities that cater to your everyday needs. Join us as we reveal the best of Android, making your smartphone experience even more delightful. Let's embark on this journey together and uncover the hidden gems that Android has in store for us!
1. App pinning
App pinning is a convenient feature available on Android devices, allowing users to secure an app to the screen, preventing accidental closures or switches to other applications. This functionality offers several benefits:
Child Safety: Parents can utilize app pinning to safeguard child-friendly applications. By pinning a kids' game or educational app, children won't unintentionally exit the app and open unrelated ones.
Borrowed Device Security: When lending your device to someone, you can use app pinning to restrict access to specific applications. For instance, pinning a map app ensures they can't accidentally access sensitive email or social media apps.
To enable this feature, follow these simple steps:
1. Open the Settings application on your Android device.
2. Scroll down and tap on the Security option.
3. Click on "More security settings."
4. Find the app pinning option and follow the provided instructions to enable it.
Once app pinning is enabled, you can easily pin any app of your choice by following these steps:
Open the application you want to pin.
Access the recent apps menu by tapping the Recent Apps (multitasking) button or swiping up and holding the screen.
Locate the app's icon in the list of recent apps.
Tap on the app's icon, and you'll see the option to pin it.
Click on the pin option to secure the app to the screen.
Once the app is pinned, users won't be able to switch to other
applications without entering the device's lock screen password. To
unpin the app and regain normal access to other apps, simply swipe up
and hold the screen.
In conclusion, app pinning is a valuable
feature that enhances user privacy, prevents accidental mishaps, and
offers additional security for shared devices.
2. Magnification Display
The Magnification feature on Android is specifically designed to assist individuals with visual impairments by offering them the capability to zoom in on any part of the screen. This greatly enhances the accessibility and readability of the content displayed. To activate Magnification on your Android device, follow these simple steps:
1. Open the "Settings" application on your Android device.
2. Navigate to the "Accessibility" menu.
3. Look for the option titled "Magnification" or "Magnification Display." The actual name of the option may vary depending on your device model and the version of Android.
4. Enable the Magnification feature by toggling the switch to the "on" position.
Once you have successfully enabled Magnification, you can effortlessly zoom in on any area of the screen by tapping on the Magnification icon. This proves to be extremely useful when encountering small text or content that might otherwise be challenging to read on your device's display.
3. Caller ID Announcement
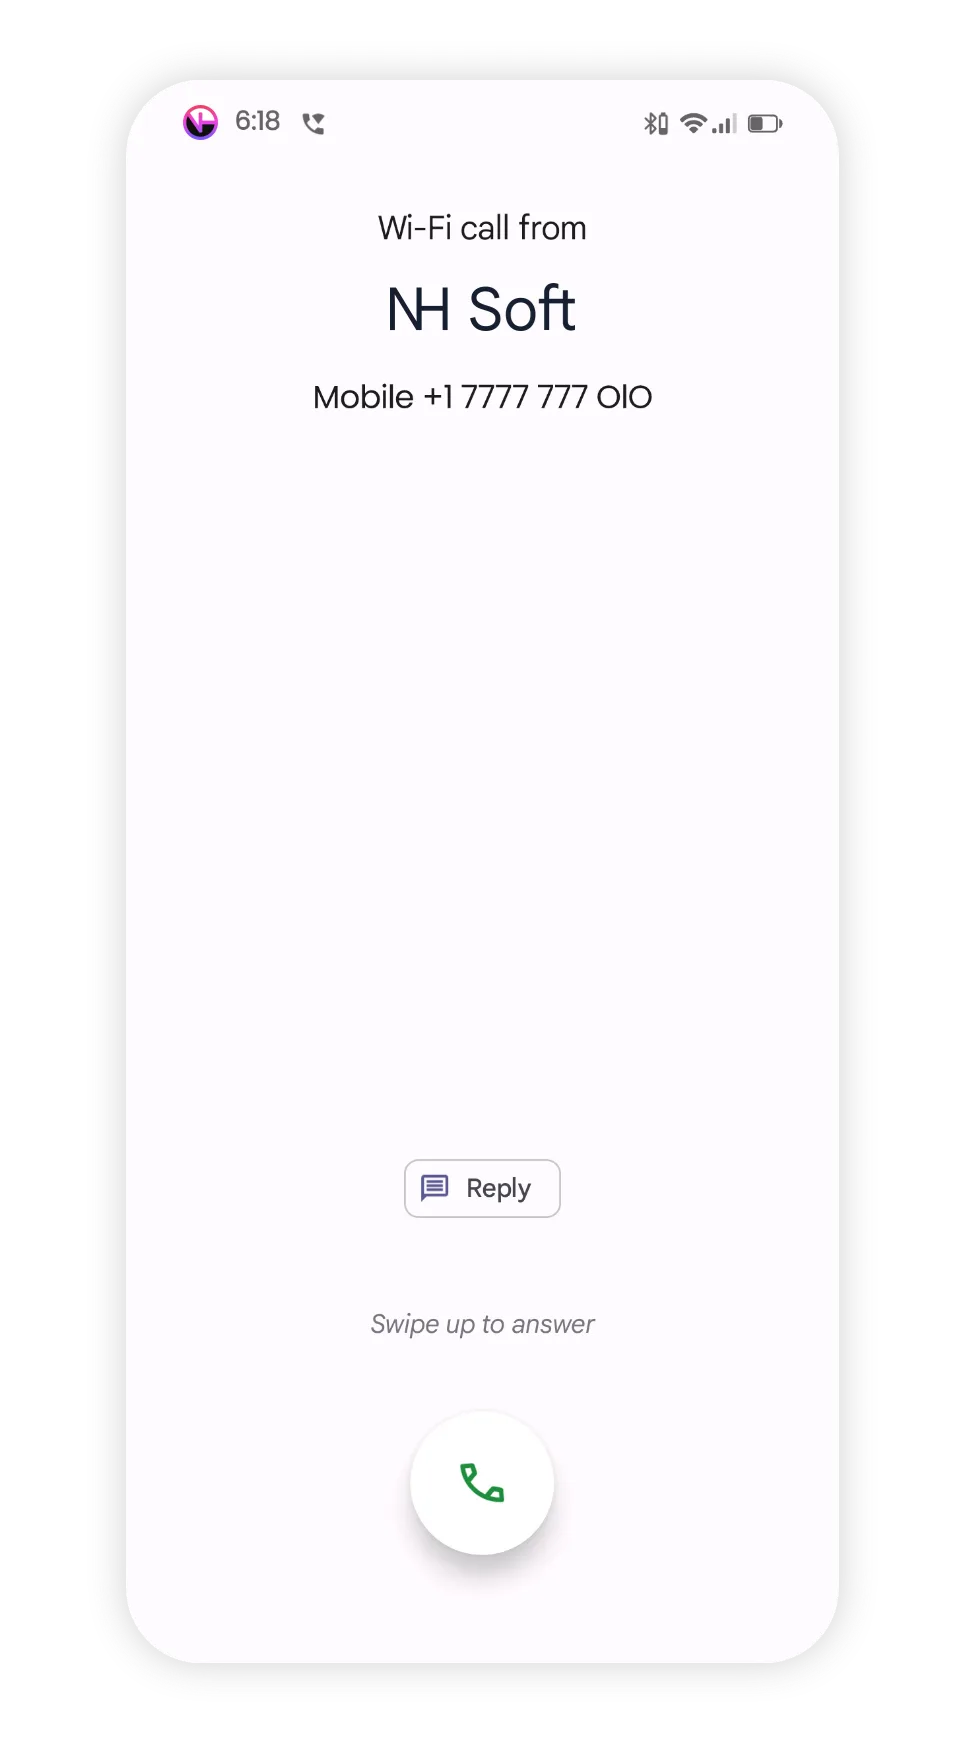
Introducing Caller ID Announcement – a remarkable feature that allows you to effortlessly receive caller information without even glancing at your phone's screen. This convenient functionality is available on Android phones that comes with 'Google Dialer.'
To enable this feature and stay informed about incoming calls, follow these straightforward steps:
1. Launch the 'Dialer' application on your Android phone.
2. Tap the three dots located in the top-right corner to access the menu, and then select 'Settings.'
3. Scroll down to the bottom of the settings page and locate 'Caller ID Announcement.'
4. Within this section, you'll find customizable options to specify when you want the caller's name to be announced.
Once you've enabled Caller ID Announcement, your phone will smartly announce the caller's name, ensuring you are kept informed without any hassle. This is an excellent feature that enhances the overall calling experience on your Android device.
4. Select to Speak
‘Select to Speak’ feature on Android allows you to have any text on your screen read aloud by simply selecting the desired area. To enable this helpful functionality, follow these simple steps:
1. Open the Settings on your Android device.
2. Navigate to the Accessibility section.
3. Look for and tap on 'Select to Speak.'
4. Enable the shortcut for quick access.
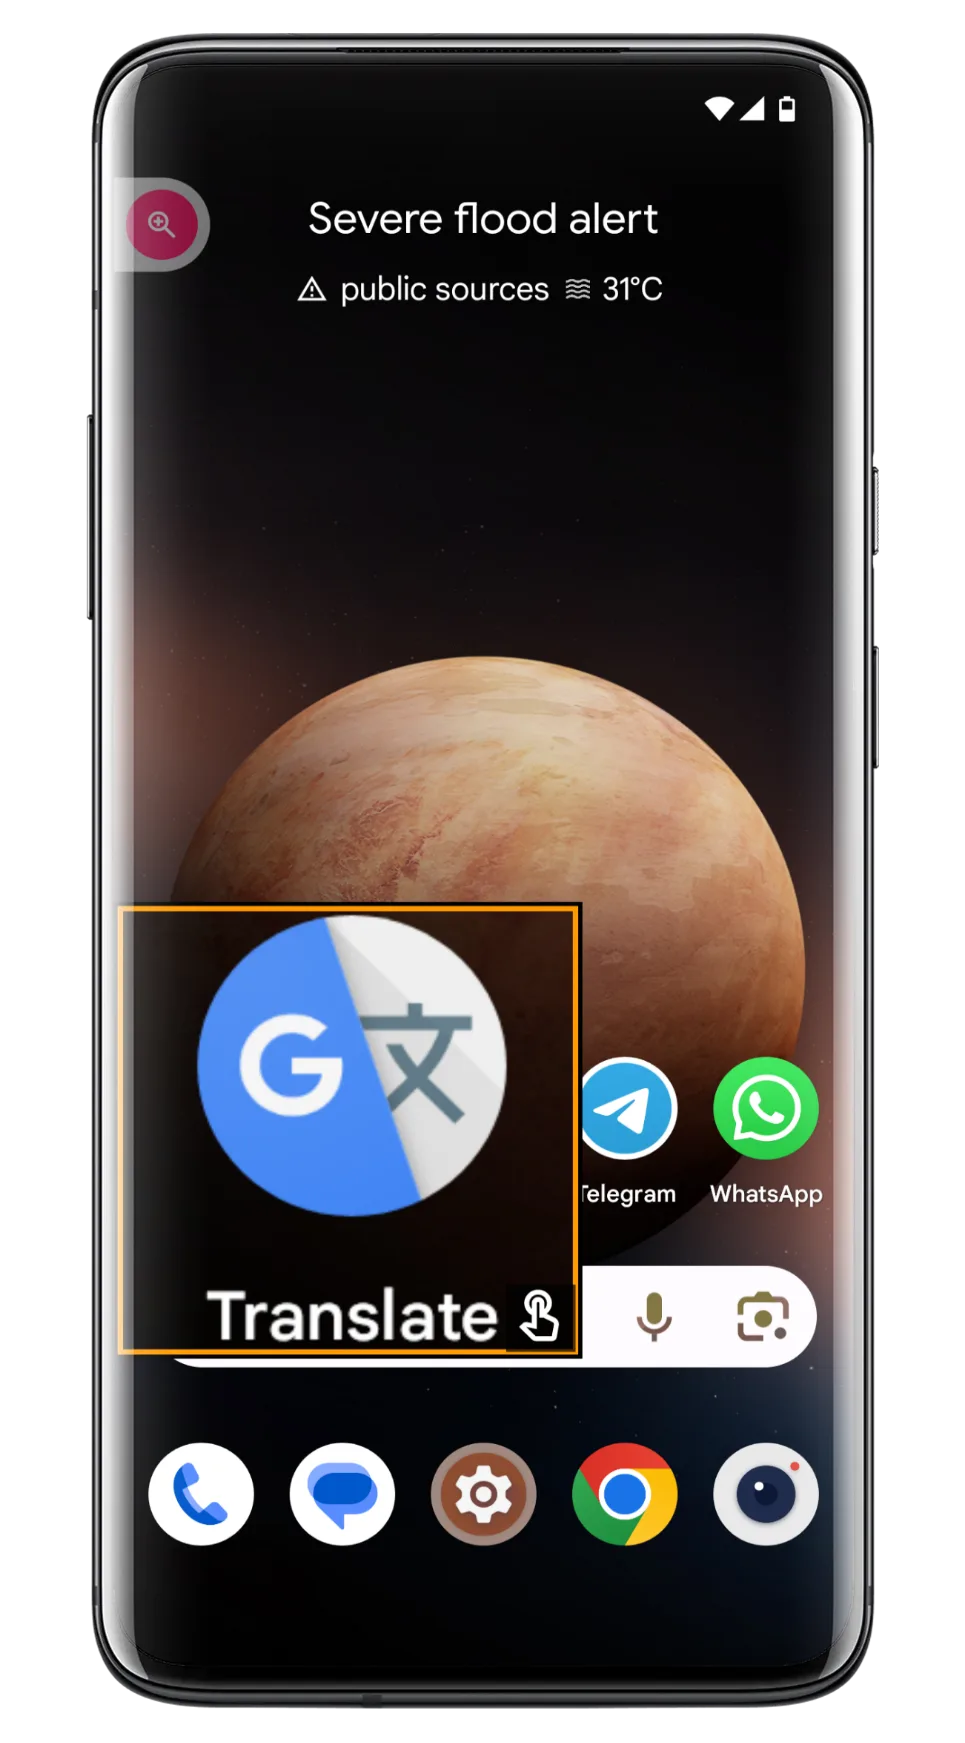
Now that you've activated 'Select to Speak,' head back to your home screen and experience its convenience in action:
Open any article or website containing text that you wish to hear.
Click on the 'shortcut' icon, which activates the feature.
Select the specific area of the screen that you want to be read aloud.
Furthermore, you have the freedom to customize the 'Select to Speak' feature according to your preferences:
Explore different language options to have the text read in the language of your choice.
Adjust the speed and pitch of the voice to match your listening comfort.
With 'Select to Speak,' your Android device becomes an even more accessible and accommodating tool, allowing you to absorb information effortlessly through the power of text-to-speech technology.
5. Guest Mode or Multiple Users
The Guest Mode and Multiple Users features in Android offer a plethora of advantages that not only enhance the overall user experience but also bolster the security of the device. Let's explore some of the key benefits:
Work and Personal Life Separation: For individuals who use their smartphones for both work and personal tasks, the ability to create separate profiles ensures a clear distinction between work-related apps and data from personal ones. This segregation enhances productivity and safeguards sensitive work information, promoting data privacy.
Family Sharing: In households where multiple family members share the same tablet or smartphone, the Multiple Users feature comes to the rescue. Each family member can have their own customized experience with personalized apps, wallpapers, and settings, ensuring that everyone enjoys a personalized and tailored device usage.
Privacy with Guests: Hosting guests and sharing your phone or tablet becomes worry-free with Guest Mode. Activating this mode ensures that your private messages, photos, and emails remain inaccessible to your guests, preserving your privacy without compromising on hospitality.
To make the most of these features, simply access your device's settings and search for 'Multiple Users.' Enable this option, and you'll be able to add new users or guest profiles as needed. Additionally, you have the flexibility to control call and SMS functionality for each profile, allowing you to customize the usage based on individual needs.
With Guest Mode and Multiple Users, Android devices truly become versatile, accommodating the diverse needs of users while maintaining the highest standards of privacy and security.
6. Notification History
In Android 12, Google introduced the "Notification History" feature, allowing users to access a log of past notifications from various apps. This feature is designed to help users review missed or dismissed notifications and retrieve important information they might have overlooked in real-time.
To enable the Notification History feature on your Android 12 or later device, follow these steps:
Open the settings on your Android device.
Search for "Notification History" within the settings menu.
Once you find the option, click on it to access the settings for Notification History.
Toggle the switch to enable the Notification History feature.
Now, with the Notification History feature enabled, you can access all your notifications from the past 24 hours. The log will display a comprehensive list of notifications from various apps, ensuring that no crucial information goes unnoticed or gets lost amidst your busy schedule.
7. Automatic Dark Mode
If you're an Android device user, you have the option to automate dark mode activation based on the time of day and sunset. To set up automatic dark mode on your Android device, follow these steps:
Access the settings on your device.
Navigate to the display settings section.
Keep in mind that the exact instructions might slightly differ based on your Android version and device manufacturer.
Look for the 'Dark mode' option and select it.
In this menu, you will find the 'Schedule' option; click on it.
Now, you can customize your dark mode activation timing based on your preferences, and you can also opt to have it enabled from sunset to sunrise.
8. Do Not Disturb
Do Not Disturb or DND is a useful Android feature for uninterrupted focus. Access it through quick settings or device settings. Customize call and message interruptions. Simply select starred contacts to allow calls from them. To enable DND, access it through quick settings by swiping down or find it in device settings. In DND settings, click on "People" and then "Call" to decide which calls can interrupt you. Tap the settings icon next to "Starred Contacts," click the "plus" icon, and select contacts you wish to receive calls from. Enjoy peace and focus without missing important communications.
9. Accessibility Menu
The "Accessibility Menu" on Android is akin to iOS's "AssistiveTouch" feature. It presents a practical window that allows users to control various device functions, including adjusting volume and brightness, taking screenshots, accessing the assistant, and more.
To enable this feature :
1. Access the settings on your device.
2. Navigate to the Accessibility section.
3. Look for "Accessibility Menu" and tap to select it.
4. Enable the shortcut option to activate it.
5. You can now start using the feature by tapping the shortcut icon.
The Accessibility Menu provides a plethora of functionalities, proving especially useful if your volume button is broken. You can effortlessly control the volume and lock your screen without relying on the power button. By utilizing the Accessibility Menu, managing your Android device becomes notably more convenient. It grants quick access to essential functions, streamlining interactions and enhancing overall usability.
10. Caffeine QS Tile
The "Caffeine toggle" is an immensely useful feature found in various custom ROMs. It offers the convenience of keeping the screen from automatically turning off when you're reading a paragraph or engaged in a task that requires a few minutes of uninterrupted focus. With a simple tap on the caffeine toggle, you can easily adjust the screen sleep time without navigating through your device's display settings.
To add the caffeine toggle to your quick settings menu, follow these steps:
Swipe down to access the quick settings menu on your device.
Tap on the edit icon to access customization options.
Look for the caffeine option and add it to your quick settings menu.
Once you've added the caffeine toggle, accessing it is straightforward:
1. Open your quick settings menu.
2. Tap on the caffeine toggle to activate it.
3. From here, you can adjust the screen sleep time to prevent it from automatically turning off (only for once).
This change applies only once.
In conclusion, Android proves to be an incredible companion, offering a plethora of useful features that elevate our digital lives. From personalization to productivity, it's a platform designed to adapt to our needs and preferences seamlessly. As we bid farewell to this blog post, we hope you've gained valuable insights into the power of Android and the endless possibilities it presents. So, let's make the most of these remarkable features and embrace the boundless potential of our Android devices. Happy exploring!
See these all feature in action :


.webp)


